Wavesurfer is an interactive soundwave player and visualizer with rich set of plugins. It works well with pipe (%>%) and can be used in Shiny. It is an interface of ‘wavesurfer.js’ JavaScript library and it is based on ‘htmlwidgets’ R package. We offer two ways to use it to annotate audio data, locally or on the web.
Option 1 Annotating Data Locally in R
Installation and run the app with the following codes, which will direct to a browser where you can annotate data and save the work locally.
install.packages("remotes")
remotes::install_github("lingechun/wavesurfer@master")
install.packages("wavesurfer")
wavesurfer::annotator_app(
  wavs_folder = '',
  annotations_folder = ''
)
The goal of annotator_app() is to provide a quick way to start annotating audio. It requires two inputs:
wavs_foldera string with the path to the wave files folder;annotations_foldera string with where to store the annotations.
Option 2 Annotating Data Remotely with shinyapps.io and dropbox
Step 1: Installation in Rstudio and download the folder annotator here to your local computer. Add to-be-annotated audio data in the subfolder sounds.
install.packages("rsconnect")
install.packages("rdrop2")
install.packages("shinyWidgets")
install.packages("shiny")
install.packages("reactable")
install.packages("remotes")
remotes::install_github("lingechun/wavesurfer@master")
Step 2: Sign up or login to a shinyapp account on https://www.rstudio.com/products/shinyapps/ and a dropbox account on https://www.dropbox.com/.
Step 3: Connect Rstudio to shinyapp.io using the following R codes:
rsconnect::setAccountInfo(name='',
               token='',
               secret='')
which requires three inputs:
namea string of your shinyapps.io account name;tokena string of your password, which can be found in your shinyapps.io account (click the menu on the left side: Account –> Tokens);secreta string of your password, which can be found in your shinyapps.io account (click the menu on the left side: Account –> Tokens).
Step 4: Authentication dropbox by running the script db_auth.R, which is available in the annotator folder. After calling drop_auth() in R, in the pop-up webpage, please add “&token_access_type=offline” to the end of the URL, then hit enter to refresh the page, and authorize as usual. Otherwise, the authorization will only be short-lived and expire in 4 hours. You will see the file droptoken.rds saved in the same folder after successfully running the codes.
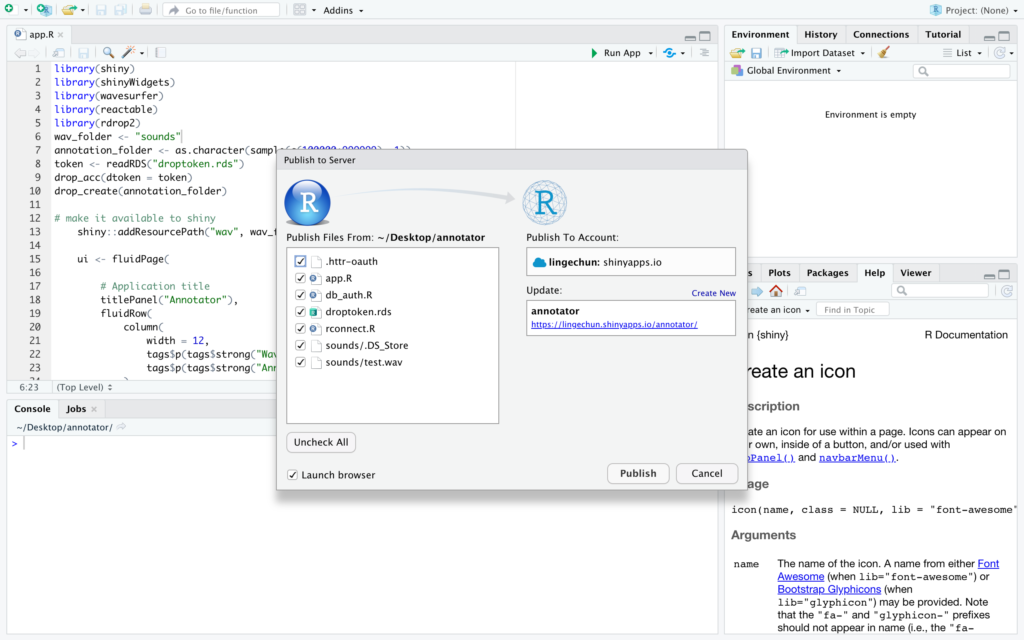
Step 5: Open the app.R and click the blue publishing icon ![]() on the Rstudio window and you will be directed to a new window as shown below. To publish the app, please click
on the Rstudio window and you will be directed to a new window as shown below. To publish the app, please click Check All, name your app under Title and hit Publish. The process may take a while, depending on the size of audio data. When completing, you will obtain a link of the published app.
Now, you are ready to annotate your audio data, locally or remotely
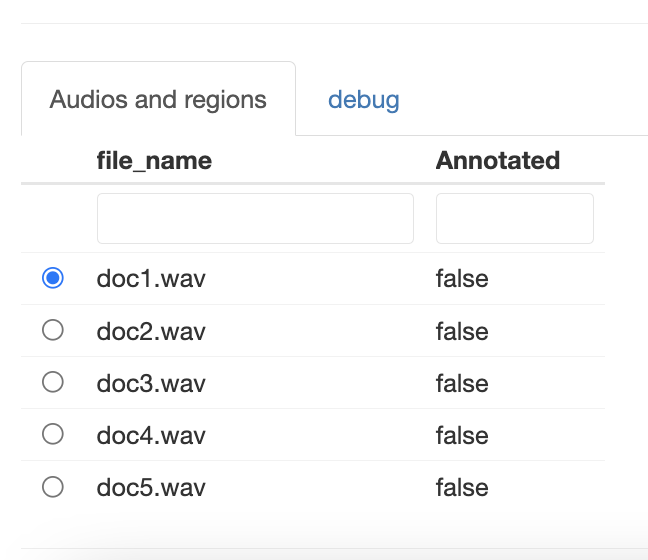
Step 1: Choose an audio file to begin with.
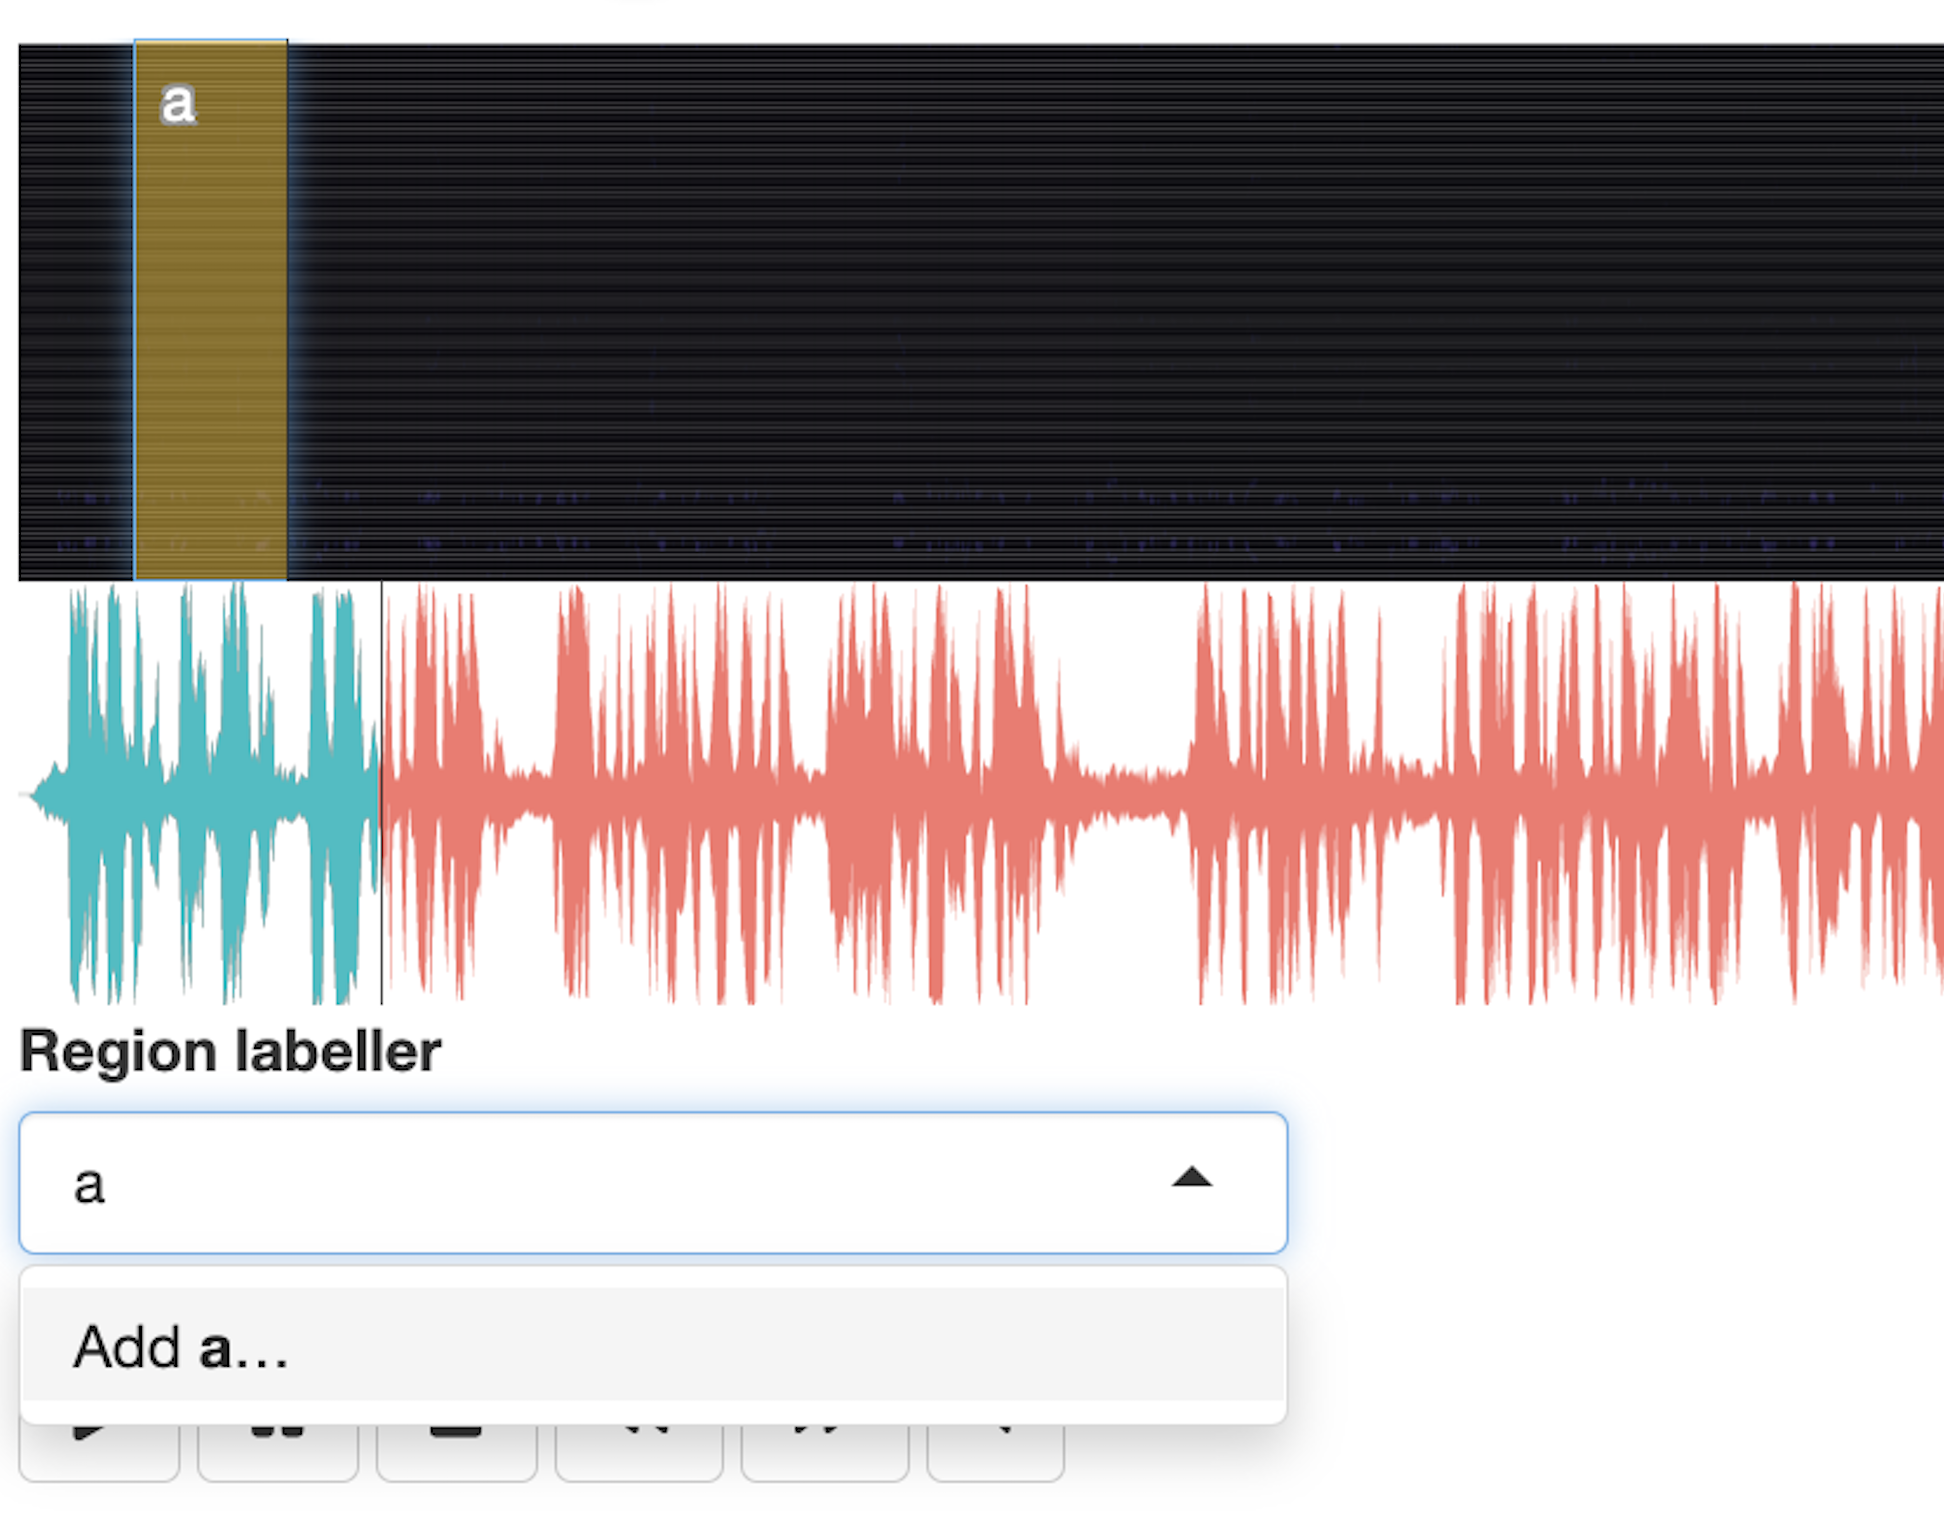
Step 2: Drag on the black area above the spectrogram to select the start and end of the region to be labelled. Also, type a name to the label at the box under “Region labeller”.
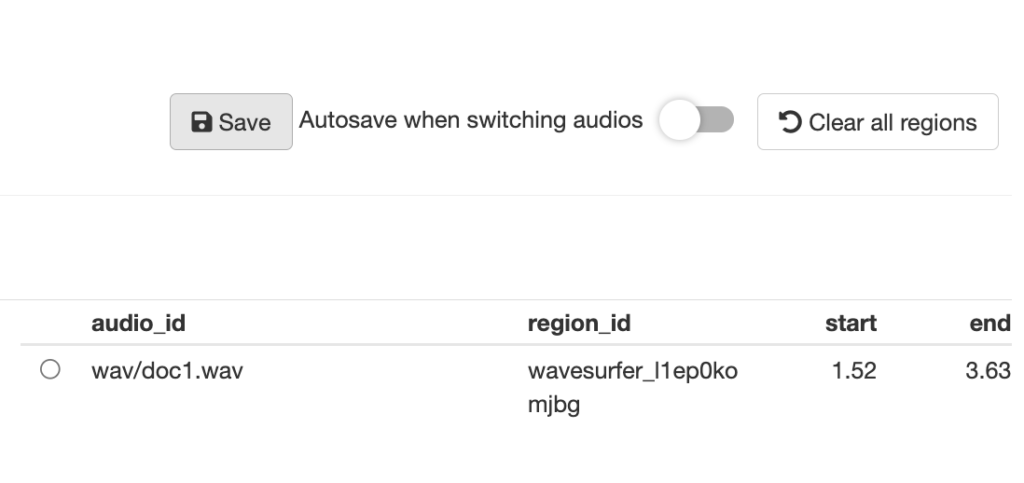
Step 3: When finishing annotating an audio file, click “Save”. You may also delete the annotation by clicking “Clear all regions”.